Wall installation guide
01.
STEP ONE
Unpack your wall kit from the pink pouch. You will also need a drill and a screwdriver to install


02.
STEP TWO
Line your sign up on the wall and hold it up straight. You may need two people for this depending on the size of your sign
03.
STEP three
Grab a pen and make a mark on the wall through the pre drilled holes on the sign


04.
STEP four
Put your sign back on the side and drill holes through the markings you made on the wall. Be sure to use the right size drill bit for the raw plugs we have provided
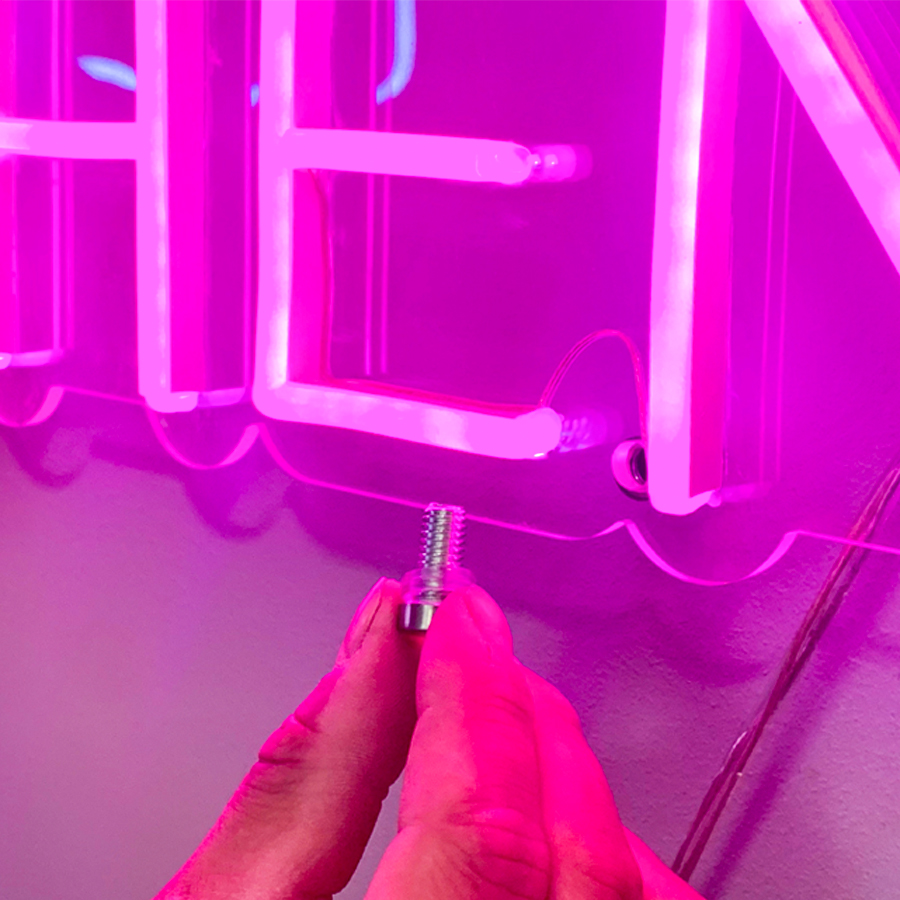
05.
STEP five
Insert the raw plugs into the wall, grab your screws and metal wall spacers. Unscrew the cap from the wall spacer to reveal a hole


06.
STEP six
Grab a screwdriver and drive the scew through the metal wall spacer into the rawplug in the wall
07.
STEP seven
Once you have installed all of the wall spacers into the wall, grab your sign again and line it up with the wall spacers

08.
STEP eight
Grab the wall spacer end caps and screw this through the holes on the sign and into the wall spacer
09.
STEP nine
Stand back and admire your Marvellous new sign!
